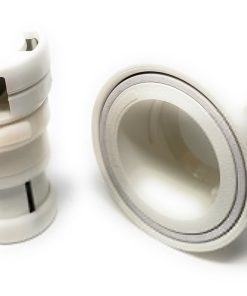
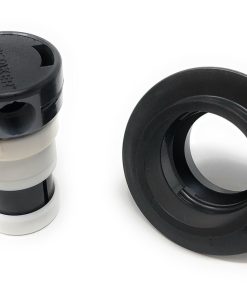
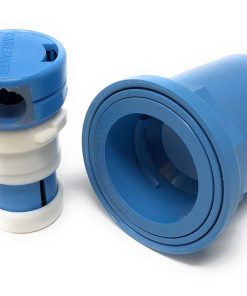
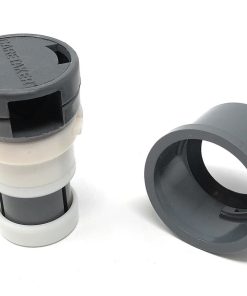
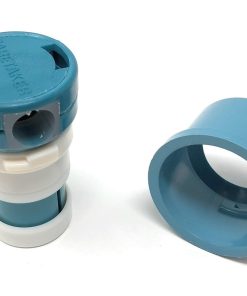
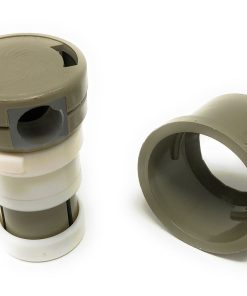
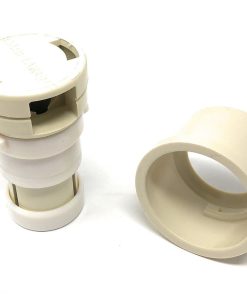
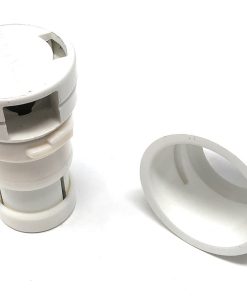
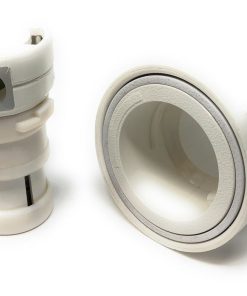
Caretaker 99 VinylCare Complete Cleaning Head (Bright White) | 5-9-7061 Caretaker
$ 84,95 $ 42,48
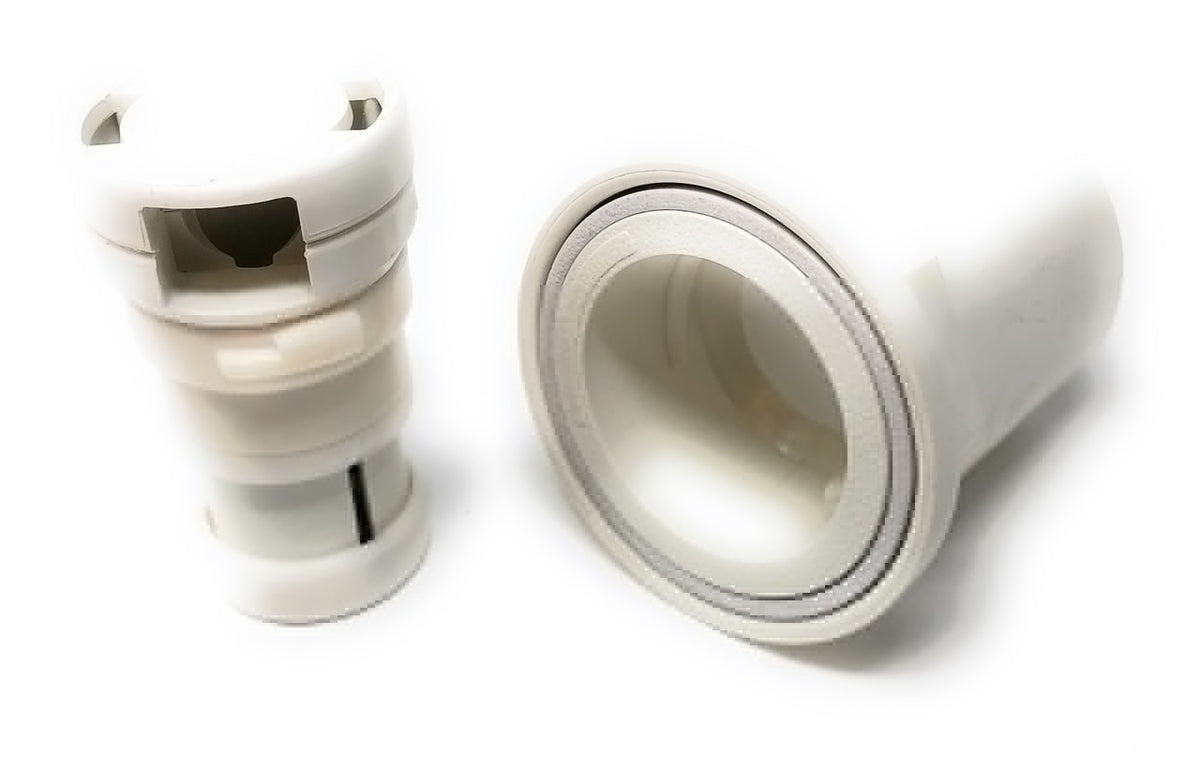
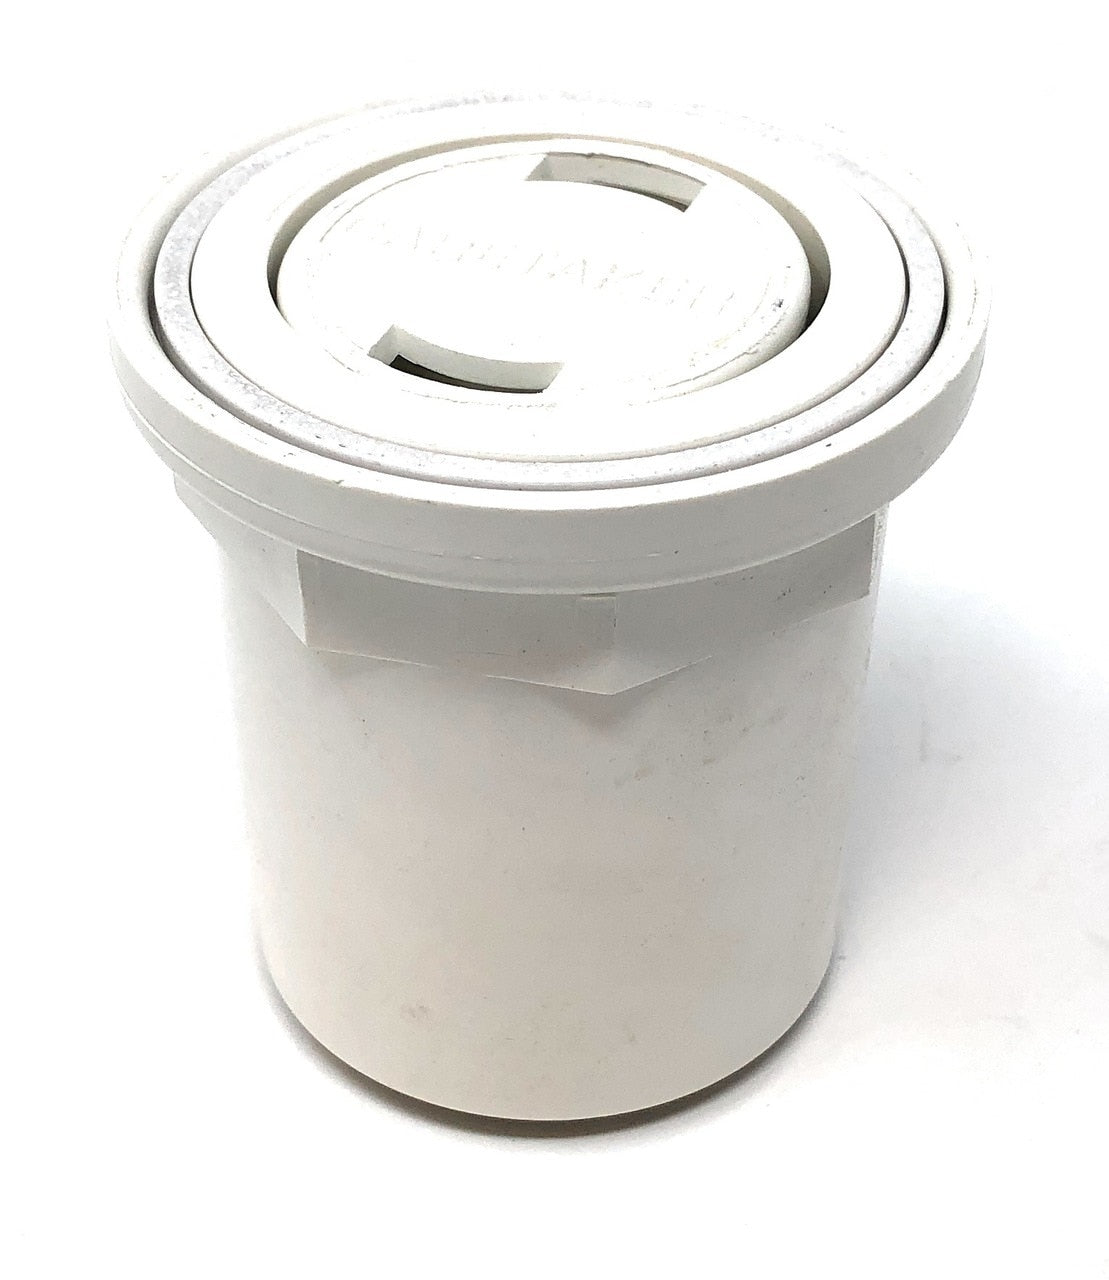
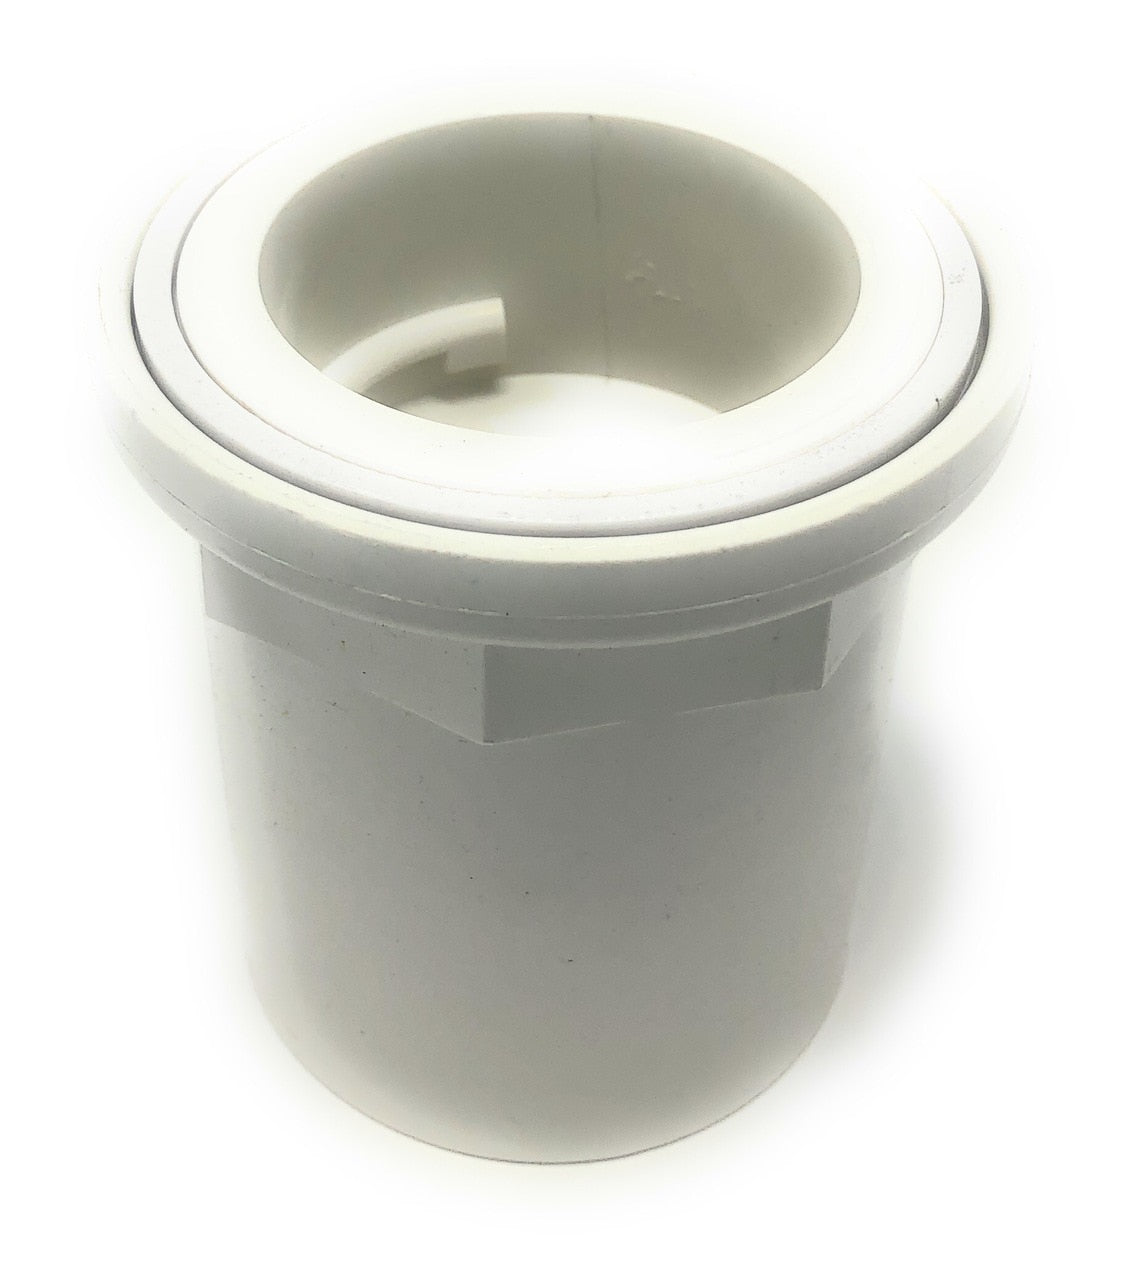
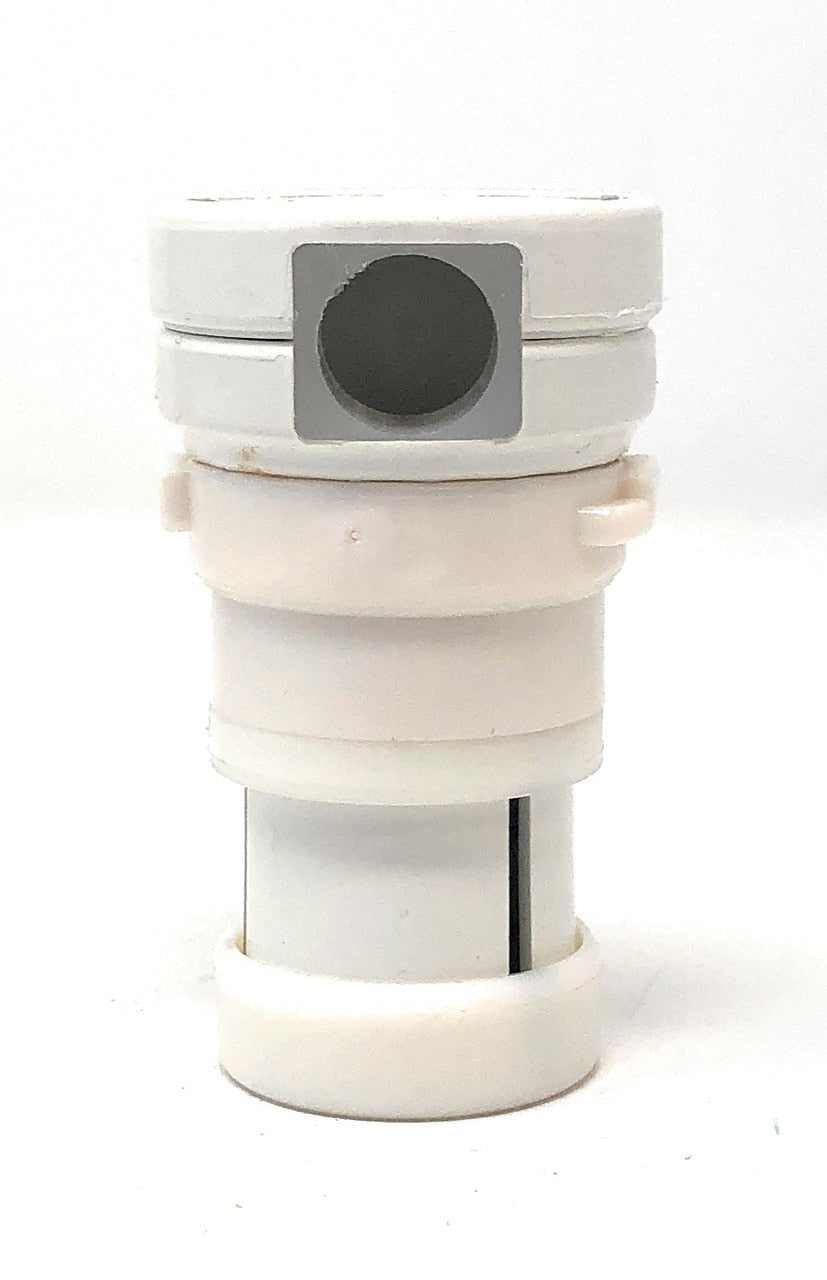
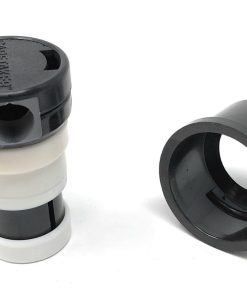
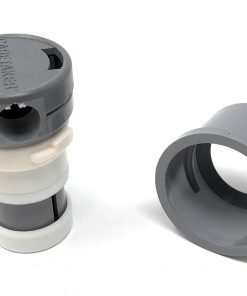
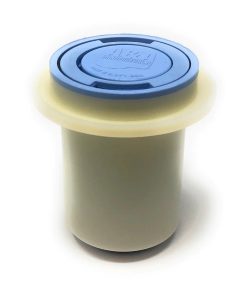
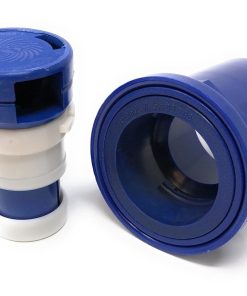
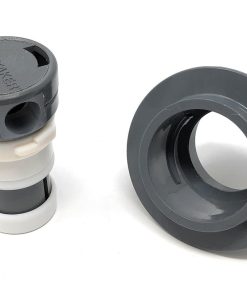
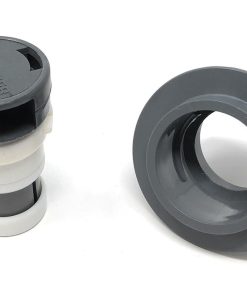
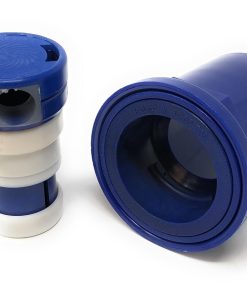
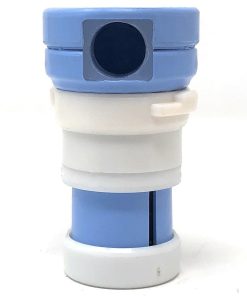
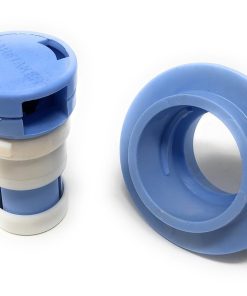
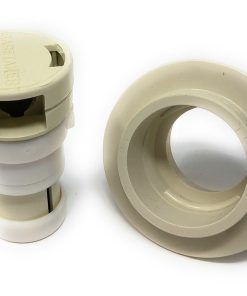
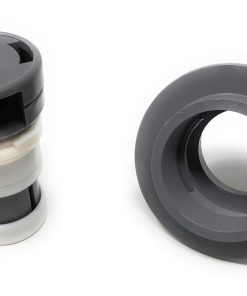
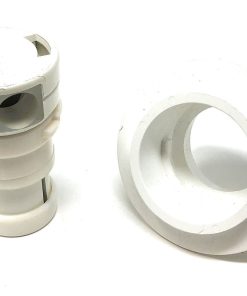
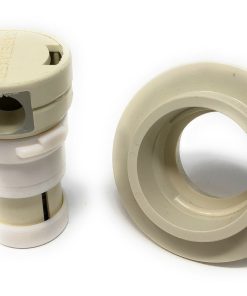
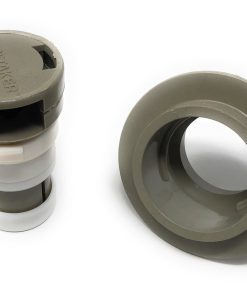
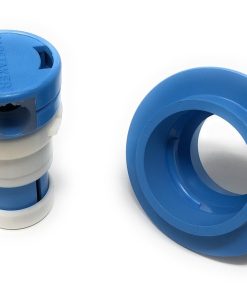
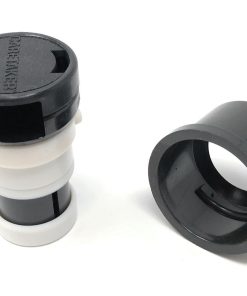
Caretaker 99 VinylCare Complete Cleaning Head (Bright White)
**THESE HEADS DO NOT INCLUDE NOZZLE INSERTS**
We offer 5 different Nozzle Inserts for Caretaker 99 Pop-Up Heads found HERE
When dealing with older Caretaker heads, we always recommend the All Metal Tool!
Genuine Caretaker 99 pop-up head replacement part. This is the new style cleaning head with low-pressure springs ready for Variable Speed Pumps. This pop-up head fits all caretakers in floor pool cleaning systems.
Caretaker is now its own brand but has in the past been under the branding of Polaris Caretaker, Jandy Caretaker, Zodiac Caretaker, and Caretaker 99. All of these are now synonymous with the singular Caretaker brand.
Optimizes Circulation
Ordinary pools circulate water from surface inlets causing most sections to receive little or no circulation. Poor circulation results in the loss or uneven distribution of valuable chemicals, heat, and water. It can also result in algae and bacteria growth. The Caretaker™ system prevents this by circulating clean water throughout your entire pool, optimizing the distribution of chemicals and heat.
Saves Time
The powerful Caretaker system will automatically rid your pool of debris, ensure it is always clean, and minimize the time required for maintenance, leaving you more time to enjoy your pool.
Saves Energy and Money
While a Caretaker system ensures a cleaner, healthier pool, it also uses less energy, chemicals, and equipment runtime, significantly reducing your annual maintenance costs.
Extends the Life of Pool Equipment
The Caretaker 99 Pop Up Head pool cleaning system saves wear and tear on your pool equipment, prolonging the life of your pump, filter, and heater.
What is included:
- 1 Pop Up Head
- 1 VinylCare Plumbing collar
For Vinyl Liner Pools:
The pool liner must be in the final position before installing collars and cleaning heads.
1. Press the locking ring firmly into place in a groove on the collar fitting. > Installation Tip: Turn the collar upside down and use it as a tool to press the ring into place.
2. Use a razor knife to cut liner inside the locking ring, leaving at least a ¼ in. (0.6 cm) edge around the ring perimeter.
3. Tighten the collar into the collar fitting, turning clockwise until the collar lip fits snugly against the locking ring.
4. Insert the Metal Combination Tool into the collar and rotate clockwise until the collar is firmly seated.
Fast Shipping & Professional Packing
Because of our long-standing partnership with UPS, FedEx, DHL as well as a range of other top global carriers we can provide a variety of shipping options. Our warehouse staff is highly skilled and will package your items in accordance with our exact and precise specifications. Your items are carefully inspected and securely secured prior to shipment. Every day we ship hundreds of packages to our customers across many countries. This shows our commitment to become the biggest online retailer in the world. Both Europe and the USA have warehouses and distribution centers.
Orders that contain more than one item are given processing time according to each item.
Prior to shipment, we inspect the ordered items thoroughly before sending the items. The majority of orders will be shipped within 48 hours. The delivery time is estimated to be between three and seven days.
Returns
The stock is constantly changing and not fully managed by us due to the involvement of several entities, including the factory as well as our warehouse. The levels of stock can change at any moment. Please be aware that it's possible that your order will become unavailable even after you have placed the order.
Our policy is valid for 30 days. If you don't receive the product within the 30 days period, we are not able to issue a refund or an exchange.
The item you purchase must be in the original packaging and in good condition. It must also not be used. It must also be returned in the original packaging.
Related products
Pool Equipment
Brilliant Wonders 24″ LED Waterfall Back Port – 6″ Lip – 100 Ft. Cord – White Custom Molded Products
Pool Equipment
Pool Equipment
Pool Equipment
Pool Equipment
Pool Equipment
